

Hey there, fellow baking enthusiasts! Today, I'm super stoked to share with you the ultimate guide on how to make a polar bear - themed cake using our awesome plastic merry Christmas cake decorations. As a plastic merry Christmas cake decoration supplier, I've seen firsthand how these little trinkets can transform an ordinary cake into a holiday masterpiece. So, let's dive right in!
Getting Your Ingredients and Tools Ready
First things first, you gotta gather all the stuff you'll need. For the cake itself, you'll need the basic baking ingredients like flour, sugar, eggs, butter, and baking powder. You can choose your favorite cake recipe – whether it's a classic vanilla, a rich chocolate, or even a zesty lemon. I usually go for a simple vanilla cake because it's a blank canvas that pairs well with any frosting and decoration.
As for tools, you'll need a mixing bowl, an electric mixer (although you can do it by hand if you're feeling extra strong), a cake pan (I recommend a round one for this polar bear design), a spatula, and a cooling rack. And of course, don't forget our plastic merry Christmas cake decorations! We've got a wide range of options that will really bring your polar bear cake to life.
Baking the Cake
Now, let's get that cake in the oven. Preheat your oven to the temperature specified in your cake recipe. Usually, it's around 350°F (175°C). In your mixing bowl, cream together the butter and sugar until it's light and fluffy. Then, add the eggs one at a time, mixing well after each addition.
Next, sift in the flour and baking powder, and slowly add some milk. Mix until you get a smooth batter. Pour the batter into your greased cake pan and bake for about 30 - 35 minutes, or until a toothpick inserted into the center comes out clean. Once it's done, take the cake out of the oven and let it cool on the rack for a bit.
Frosting the Cake
While the cake is cooling, it's time to make the frosting. You can use store - bought frosting if you're short on time, but making your own is so much more fun. For a polar bear - themed cake, I suggest a white buttercream frosting. All you need is some butter, powdered sugar, a bit of milk, and vanilla extract.
In a mixing bowl, beat the butter until it's soft. Gradually add the powdered sugar, a little at a time, and mix well. Add a splash of milk and the vanilla extract, and keep mixing until you get a smooth and creamy consistency.
Once the cake is completely cooled, place it on a cake stand. Take your spatula and spread a thin layer of frosting over the top and sides of the cake. This is called a crumb coat, and it helps to keep the crumbs from getting into your final layer of frosting. Let the crumb coat set for about 15 - 20 minutes.
After the crumb coat has set, add another layer of frosting to make the cake look nice and smooth. You can use a spatula to create some texture on the sides of the cake to mimic the fur of a polar bear.
Creating the Polar Bear Design
Now comes the fun part – creating the polar bear! You can use a combination of frosting and our plastic merry Christmas cake decorations to bring this cute critter to life.
For the face of the polar bear, use a round piping tip to pipe two large circles for the eyes and a smaller circle for the nose. You can use black frosting for the eyes and nose to make them stand out. Then, use a small piping tip to add some details like the mouth and the fur around the face.
To make the ears, you can cut out two small triangles from the cake scraps and frost them white. Attach them to the sides of the cake using a bit of frosting.
Now, it's time to add our plastic decorations. We have some amazing Christmas Holly Cake Decoration that can be used as a little collar around the polar bear's neck. Just place the holly decoration gently on the frosting, and it'll look like the polar bear is wearing a festive necklace.
You can also use our Felt Christmas Cake Topper to create a little hat for the polar bear. Cut the topper into the shape of a hat and attach it to the top of the head using frosting.
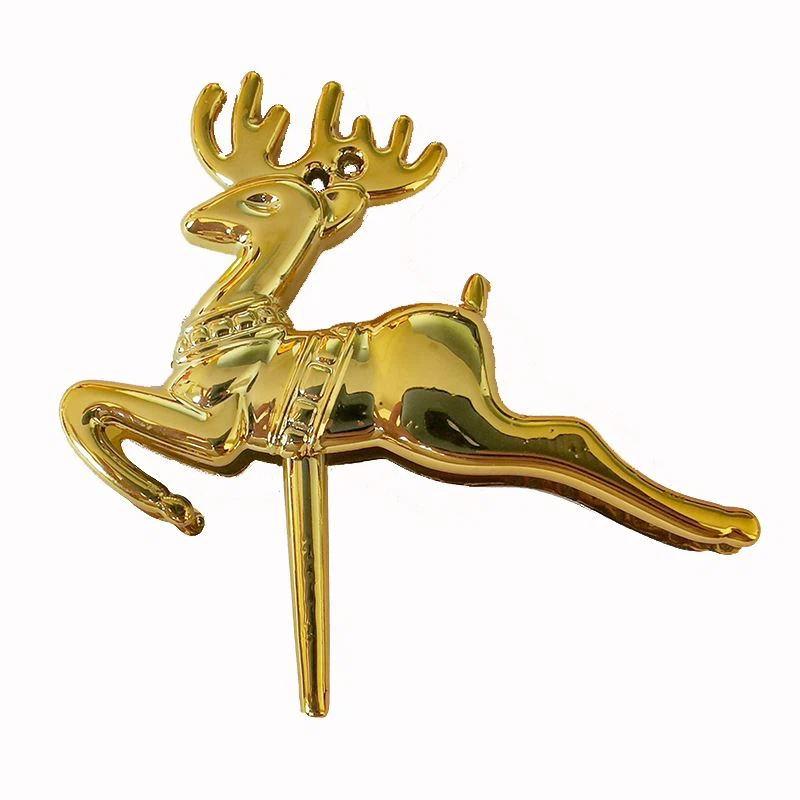
For the background, you can add some Christmas Deer Cake Decoration around the base of the cake to make it look like the polar bear is in a winter wonderland.
Final Touches
Once you've added all the decorations, take a step back and look at your masterpiece. You can add some edible glitter or sprinkles to give the cake an extra bit of sparkle. You can also write a little Christmas message on the cake using a piping bag filled with colored frosting.
Why Our Plastic Merry Christmas Cake Decorations Are the Best
Our plastic merry Christmas cake decorations are made with high - quality materials that are safe for food contact. They're also very durable, so you can use them year after year. We have a wide variety of designs to choose from, so you can create any kind of Christmas - themed cake you can imagine.
Whether you're a professional baker or just someone who loves to bake for the holidays, our decorations are perfect for adding that special touch to your cakes. They're easy to use and can really make your cakes stand out at any Christmas party or gathering.
Contact Us for Your Decoration Needs
If you're interested in our plastic merry Christmas cake decorations, we'd love to hear from you. We offer great prices and fast shipping. Whether you're looking to buy in bulk for your bakery or just a few pieces for your home baking projects, we've got you covered. Just reach out to us, and we'll be happy to discuss your requirements and help you find the perfect decorations for your cakes.

References
- "The Joy of Baking" by Rose Levy Beranbaum
- "Baking Basics: A Beginner's Guide" by various authors